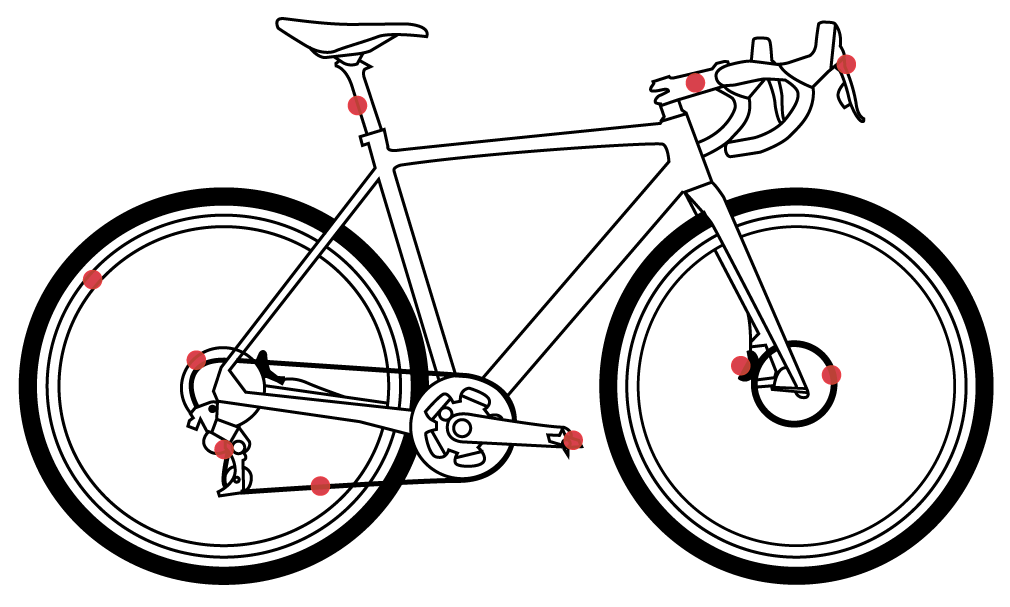
| Tuning Tips | ||||
![]() |
||||
![]() |
||||
![]() |
||||
![]() |
||||
![]() |
||||
PURE DAMPING SYSTEM SID/PSYLO/DUKE For the best rebound, compression, and lockout performance, 'bleed' all air bubbles from the PURE system during Installation: Be sure to use an oil syringe to bleed the air from the system. Remember ... the system is not PURE if there is air in the PURE damper!! Oil syringes can be purchased from a hardware, lawnmower, and most motorcycle shops for and about $2 US. See the PURE Damper Service Guide for the full service procedure. PURE Lockout:When installing the CLIMB-IT CONTROL PURE adjuster knob, be sure to check the following:
See the PURE Damper Service Guide for the full service procedure. TIP! When adjusting your U-TURN spring travel setting, remember to unlock the CLIMB-IT CONTROL to the full open (counterclockwise) position before adjusting the travel setting (Psylo C, XC, and SL only). Compression Adjustment:
Rebound Adjustment:
REBOUND/COMPRESSION DAMPING Pro Deluxe: To slow down the compression stroke of your Pro Deluxe, adjust the blue compression knob clockwise. Turn counterclockwise to increase the speed of the compression stroke. Boxxer (World Cup & Team): Low speed compression:
Rebound Adjustment:
Oil:
To increase the speed of the rebound stroke of your Boxxer, you can change the oil weight in the rebound side (right) of the fork from the stock 15 weight to 10 weight See the Oil Volume Chart below for more information. 2001-2004 SID (World Cup, Team, & Race), 2001-2004 PSYLO (Race & SL) and 2003-2004 Duke Race:
2000-2002 JUDY (SL & XC), 2003-2004 PILOT (03 Race, SL & XC), 2002-2004 DUKE (02 SL, XC, & C) , and PSYLO (XC & C):
By utilizing the negative air feature of your DUAL AIR fork, you can actually help tune the rate of rebound as well as compression. TIP! Decrease the negative air volume to increase (speed up) the rate of rebound of your fork. Increase the negative air volume to decrease (slow down) the rate of rebound. 2000-2001 SID XC and 100, 2003 PILOT RACE:SID XC/100 and Pilot Race both feature the HYDRA AIR damping system. This system consists of a single external adjustable damper unit, and a blow-off (anti-spike) valve. Rebound control is further tunable by changing the stock 15 weight RockShox fork oil, to 10 weight or 5 weight oil. Rule-of-Thumb:
2003-2004 U-Turn Rear, 2001-2004 SID Rear XC Adjust, and 1999-2002 SID Rear RACE:
TIP! Decrease the negative air volume to increase (speed up) the rate of rebound of your SID or U-Turn rear shock. Increase the negative air volume to decrease (slow down) the rate of rebound. Increasing the negative air volume also increases the shocks' sensitivity to small bumps. CHECKING FOR BUSHING WEAR Your RockShox fork features internal friction bushings (bearings) which are pressed inside the Lower Legs (sliders). Each Lower Leg contains an upper and a lower bushing. The bushings act to hold the upper tubes (stanchions) firmly in place as the 'slide' up and down. It is VERY important to regularly check your lower leg bushings to ensure they are not worn, and 'play' (a loose fit between the upper tube and lower leg) is not present. Bushing play leads to decreased performance and control, as well as possible wear on the upper tube anodized surface. The internals of the fork may also become damaged if there is bushing play present. Bushing wear and tear results from normal use over time. Depending on the terrain, weather conditions, riding style, rider weight, use of disc brakes and duration of use, bushings will and loosen up. Rule of Thumb: The more you ride, the sooner you will need to replace your worn bushings! CHECK THOSE BUSHINGS!
You can also squeeze the front brake lever tight and rock the bike back and forth. Feel for bushing play and check to ensure your headset is tight POST-RIDE INSPECTION When you finish a ride, it is recommended to give your RockShox fork, seatpost, and rear shock a 'once-over' visual inspection before you dig into that pasta. Dropouts: Check for wear from over-torque of the quick release. Also check for damage caused by rocks. Brake Arch Area: This is a high-stress area on your fork. If you have crashed, check for cracks! If you notice any, do not ride the fork again, see your bicycle dealer, and have them call SRAM Customer Service for a replace set of Lower Legs recommendations. Dust Seals: Wipe your dust seals (gray or black seal between the upper tube and the lower tube) clean of dirt, water, mud, and oil. Keeping your dust seals clean will help maintain the performance and life of your fork. Upper Tubes: Wipe your upper tubes clean of dirt, water, mud, and oil after a ride. Apply a small amount of fork oil, RedRum, or Teflon-based chain lubrication to the area of upper tube closest to the dust seal. Cycle (push down) your fork a few times to spread the lubrication. You're all set for tomorrow's ride! Rebound Adjuster Knob: (located on the bottom of the right lower leg, at the end of the shaft bolt): Check this out for possible damage caused by rocks, or a crash. Make sure the knob is not bent or leaking oil. If oil is leaking, you may have damaged the internals of the rebound damper unit. Adjust the rebound adjuster knob, cycle fork, and check the different rebound settings after each few compression strokes. If you notice loss of damping, see your local bicycle dealer for a replacement rebound damper unit. If the damage was impact-related (crash, or user inflicted), this is not covered under warranty. Headset: Check your headset for loose fitting after a ride. Gently squeeze the front brake, wrap your hand around the headset, and rock the bike back and forth. If you feel the headset is loose, tighten it up until the rocking goes away. Be sure you don't over-tighten! PRE-RIDE PREPARATION
OIL VOLUME OIL VOLUME CHART MAINTAINING YOUR FORK AIR SEAL Maintaining your forks' main air seal is quick and easy.
AIR INFLATION It is important to check the air pressure in your air fork or rear shock before you hit the trails. If the air pressure is too soft, you can bottom the fork out (harsh compression, from using all of the forks' travel in one bit hit) and possibly damage internal parts. If you have too much air pressure, you will not be able to compress the fork and achieve full travel. Find somewhere in the middle, and you're good to go! Check out the AIR PSI INFLATION CHART for recommended inflation levels: COIL SPRING RATES See the COIL SPRING RATES CHART for the recommended spring-rates and part numbers.U-TURN All 2002-2004 Psylo, 2003-2004 Duke, and 2004 Judy SL U-Turn forks feature the U-TURN external travel adjust system. With the turn of the U-TURN dial, you can easily adjust your compression travel from 80 to 125 mm (Psylo) and 63 to 108 mm (Duke U-Turn), 70 to 115mm (Judy SL) and anywhere in between. The most beneficial feature...you don't have to disassemble the fork to change the travel! CLIMBING: Adjust U-TURN travel down to shortest travel setting when approaching a steep climb. By running short travel, your bike and body are in a forward position. This positions your body weight and center of gravity towards and over the front wheel, to aid in climbing. XC/EPIC RIDES: Adjust U-TURN travel to the middle travel setting for cross-country terrain, and all-day epic rides. U-Turn forks then provide you with plenty of travel for comfortable, controlled riding in and out of the saddle. GOING DOWN: Adjust U-TURN travel to the long-travel setting, point the bike down, and let'r rip! This is the 'fun-factor' feature of the U-TURN system. You just cleaned the steepest hill on the trail in the short travel setting. Crank the U-Turn counterclockwise to extend the travel, and hang on for the downhill! Rule-of-Thumb:
COLD/HOT WEATHER COLD WEATHER RIDING:
To improve the adverse affects of cold weather try using lighter weight fork oil. HYDRACOIL:
HYDRA AIR:
PURE:
WET/MUDDY WEATHER:
A suspension fork, rear shock, and suspension seat post are mechanical devices that have moving parts. As with any product with moving parts, regular maintenance and cleaning will not only maintain consistent performance, but will increase its life. Special care must be taken not to damage external and internal parts. Keeping additional 'rinse' water out of the fork is important. CLEANING DO's and DON'TS Do: Wipe all excess water, mud, and sand from the upper tubes, lower tubes, and crown area with a clean rag or bristle brush (Park makes a great one!). Do: Wet a rag, or spray your fork with isopropyl alcohol or degreaser. Wipe the crown, top caps, upper tubes, dust seals, and lower legs clean. Do: Apply fork oil, RedRum, or Teflon-based lubrication to the upper tube area nearest to the dust seals. Cycle the fork a few times to circulate the lubricant. You can even gently pinch the dust seal, nearest to the upper tube, and add some lubrication (mentioned above) to the inside of the dust seal. This will lubricate the foam ring. Wipe away any excess oil from the upper tubes and dust seals. Don't: Stop by the local car wash and spray your bike with a power sprayer. This can force water into the dust seals and contaminate your seals, foam rings, bushings, oil, and rebound damper with water, dirt, and sand. Don't: Use a solvent (think WD40) to clean or lubricate your RockShox suspension. Use suspension or Teflon-based lubricant. Solvent will damage o-rings, seals, and bushings. COIL SPRING ISOLATOR INSTALLATION Ten Steps:
|
||||


