{{ data.msg }}

Your browser does not support all of our website’s functionality. For an improved shopping experience, we recommend that you use the most recent versions of Google Chrome, Safari, or Firefox.

Boost your bike knowledge and stay focused on the road ahead with these simple tips and tricks.

DIAL IN YOUR DRIVETRAIN 

For ideal drivetrain performance, follow these steps:

STEP 1: Make sure the derailleur hanger is straight using a hanger alignment gauge. A bent hanger will cause inconsistent shifting and excessive noise.

STEP 2: Adjust the high and low limit screws according to specifications [hyperlink to manual]. Limit screws will allow a full range of shifting while limiting the derailleur from damaging your spokes or frame.

STEP 3: Check the chain gap and adjust if necessary. If the chain gap is too small, shifting will be rough and noisy. If the chain gap is too big, shifting will be slow and inconsistent. Chain gap is the distance between the cassette and the derailleur pulley wheels. Correct chain gap finds the optimal balance between fast and smooth shifting.  

Related Image

Chain Gap XPLR

Related Image

Chain Gap Eagle

VIEW MANUAL


STEP 4: Use MicroAdjust to optimize rear derailleur shift performance or eliminate unwanted rasping sounds before, during, or after rides. MicroAdjust requires no tools and compensates for the subtle variations that occur between bikes by centering the upper pulley under a cog. Simply use your shift paddle and AXS button, or the SRAM AXS app.

Related Image

AXS BUTTONS EXPLAINED

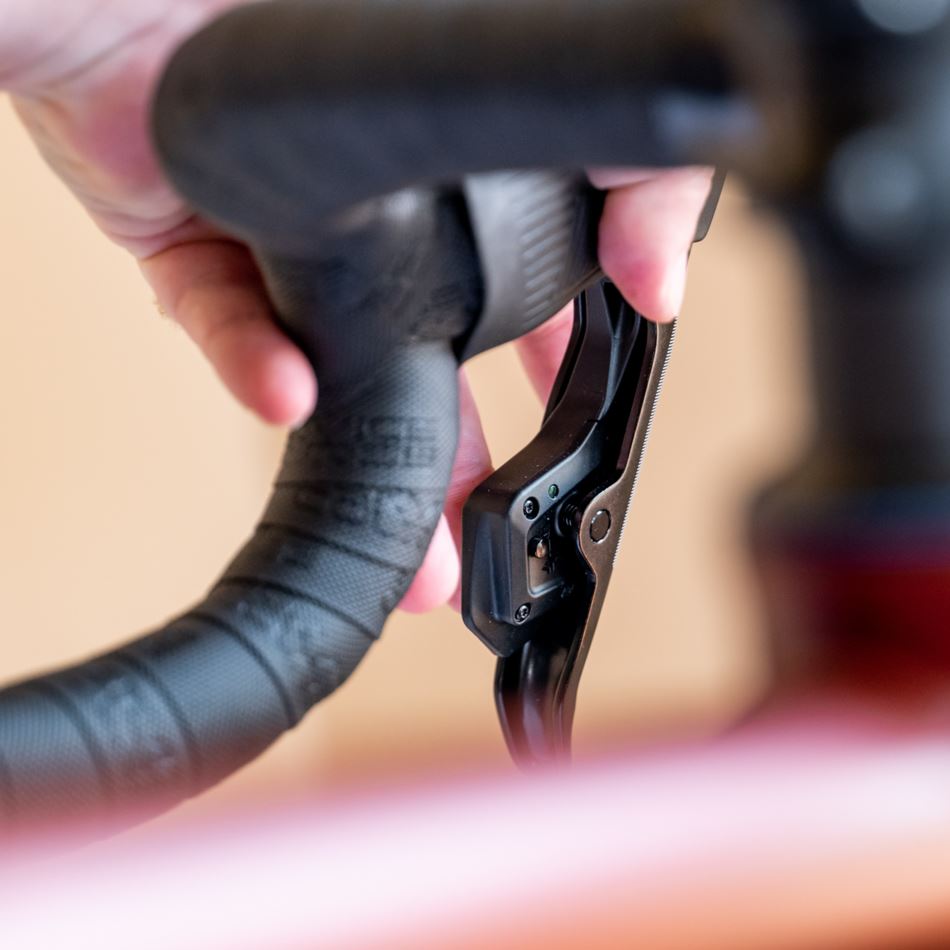
The AXS buttons and LEDs on your derailleur and controllers tell you more than battery status. Locate the AXS button next to the “AXS” logo on your components, found inside the shift paddle on a drop bar controller and on the front of the derailleur.
• Pressing the AXS button once on the derailleur will shift it outboard, and two quick presses will shift it inboard.
• You’ll use AXS buttons and LEDs as part of the pairing procedure.
• LEDs illuminate orange/amber when you connect to the AXS app and during firmware updates initiated within the app.
View Manual

ROADSIDE TIPS

Your complete bike probably came with AXS components already paired and ready to ride. But it’s good to know the pairing procedure if you are adding a Reverb AXS, Wireless Blip, or replacing a crashed part.

  • If your paired drivetrain stops shifting, it may be something as simple as a derailleur battery that needs charging or controller battery that needs replacing. Check the battery status by pressing the AXS button on the derailleur and shifters. No light? That battery is out of juice.
  • If the batteries have power, re-pair the system according to this process.

    TECH TIP: A SRAM AXS battery is only 24 grams, making it easy to carry a spare. Use part number 00.3018.102.000 to order one through your local SRAM dealer.

WHEEL REMOVAL

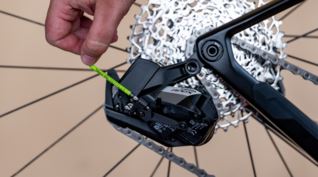
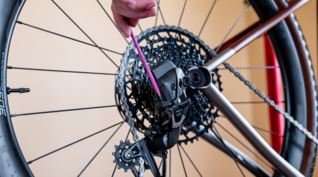
Should you need to remove your rear wheel for transport or repair, shift into the smallest cog on your AXS bike, then identify your derailleur type by locating the XPLR or Eagle logo on your derailleur.

YOUR APEX AXS GEARING

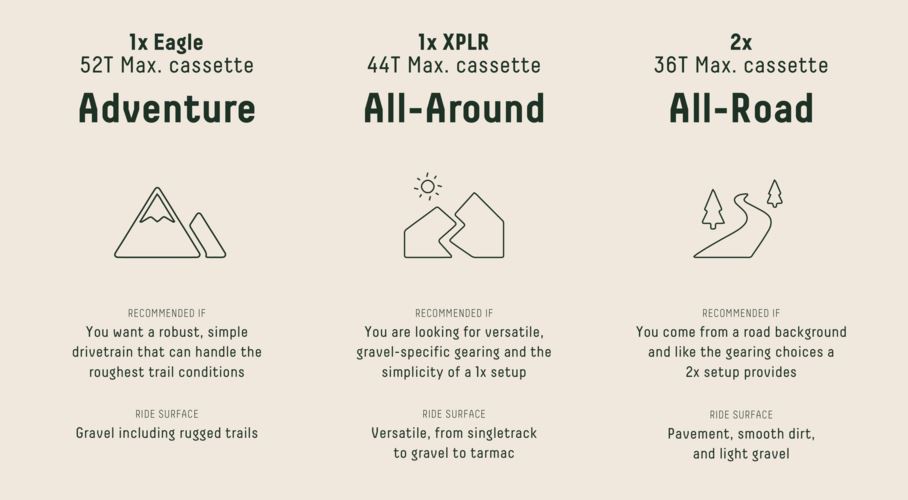
Your complete bike has 1x-specific gearing that’s thoughtfully chosen for its intended use. 1x, or single chainring, drivetrains are perfect for many disciplines with built-in simplicity, chain retention technology, and all the range you need.

TECH TIP: Want to tweak your gear range? Try a slightly larger or smaller chainring.

Related Image

Want a deeper dive into gearing? Read the Gravel Gearing article.

KNOW YOUR APEX AXS

CUSTOMIZE YOUR CONTROLS