{{ data.msg }}

Your browser does not support all of our website’s functionality. For an improved shopping experience, we recommend that you use the most recent versions of Google Chrome, Safari, or Firefox.

KNOW YOUR RIVAL ETAP AXS

Rival eTap AXS is simple to use and packed with features to make every ride the most fun. In this guide, we’ll cover ride essentials, unlocking your wireless drivetrain’s potential, and personalizing your AXS system—starting with the fundamentals for your new bike.

Still need to install your drivetrain? Installation is easy. 


RIDE ESSENTIALS

Zugehöriges Bild

STEP 1: Check your battery status.

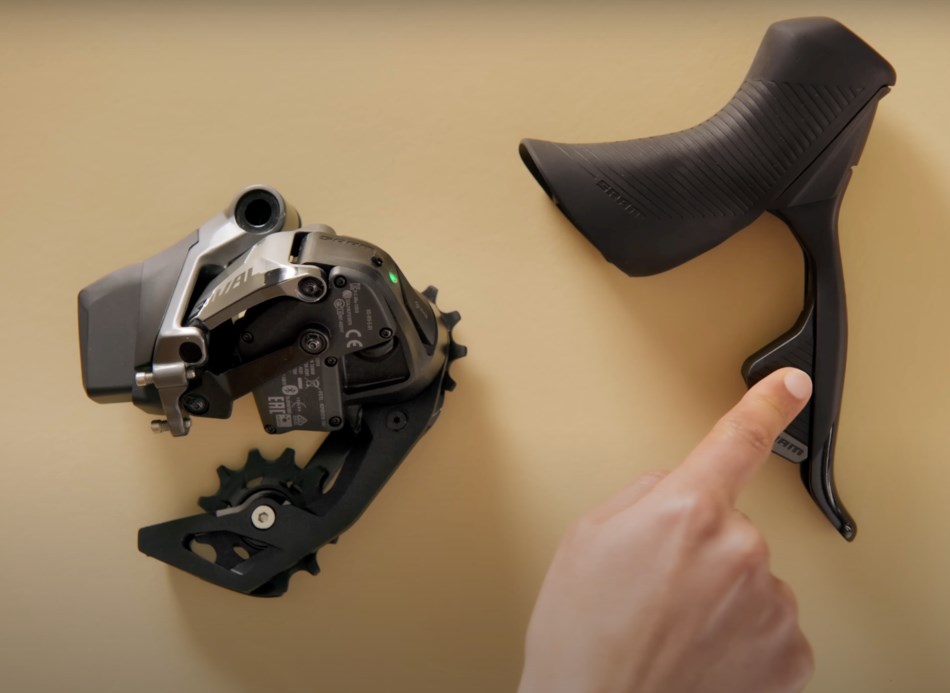
An LED will flash on your derailleur and controller every time you shift, indicating the battery status of each component. You can also press the AXS button on each component to check the status.
• GREEN = More than 25% of battery charge remaining
• RED = Between 10% and 25% of battery charge remaining
• FLASHING RED = Less than 10% of battery charge remaining
Zugehöriges Bild

Monitor Battery Life On 1x Drivetrain

Zugehöriges Bild

Monitor Battery Life On 2x Drivetrain

STEP 2: Charge your battery.

AXS batteries take an hour to charge and last for approximately 60 hours of riding time, meaning most riders need to charge roughly once a month. To preserve battery life, AXS components go to sleep when the bike is stationary. Shake or bounce your bike to wake up the AXS system or simply start riding.

TECH TIP: Always use SRAM-branded batteries and chargers to get the most consistent and safe performance from your AXS components.

Zugehöriges Bild

STEP 3: Learn to shift.

SRAM eTap shift logic makes controlling your bike easier than ever. The drop bar controls arrive with the left controller programmed to move the derailleur inboard to an easier gear, while the right controller moves to rear derailleur outboard to a harder gear. Shift the front derailleur with a simultaneous press of both shift paddles.

Zugehöriges Bild

STEP 4: Better braking.

The hydraulic disc brakes that come on your bike ensure the best power and control for riding in all conditions on any terrain. To get the most out of your new brakes, complete the brake bed-in procedure before your first ride. Bed-in is the process of controlled slowing to gradually heat the braking surface while evenly embedding brake pad material into the disc rotor. Proper bed-in prevents brake noise and allows for consistent performance.

MEHR ERFAHREN

Zugehöriges Bild

EIN ABGESTIMMTER ANTRIEB

Einstellung und Wartung des Schaltwerks.

Mehr erfahren

Zugehöriges Bild

PERSONALISIERUNG DER SCHALTHEBEL

Bremsen und Schalten nach deinem Geschmack.

Mehr erfahren

Zugehöriges Bild

AXS INTEGRATION

Vernetze dich mit Fahrradcomputern und AXS Web.

Mehr erfahren

Zugehöriges Bild

ADD A POWER METER

Optimize your ride efforts.

View more