{{ data.msg }}

Your browser does not support all of our website’s functionality. For an improved shopping experience, we recommend that you use the most recent versions of Google Chrome, Safari, or Firefox.

LEARN FLIGHT ATTENDANT’S LANGUAGE

Flight Attendant makes sure your suspension is always in the right position right when you need it, using real-time data from the rider and the trail to adjust your suspension to the Open, Pedal, or Lock position. Flight Attendant constantly communicates with you using LEDs, and we're here to teach you what Flight Attendant is telling you. Before we dive in, let's cover some LED basics. There are six LEDs on Flight Attendant's Control Module that display key information.

CONTROL MODULE LEDS (5 TOTAL)

  • Modes
  • Suspension position
  • Effort Zones
  • Settings
  • Tuning
  • Error codes

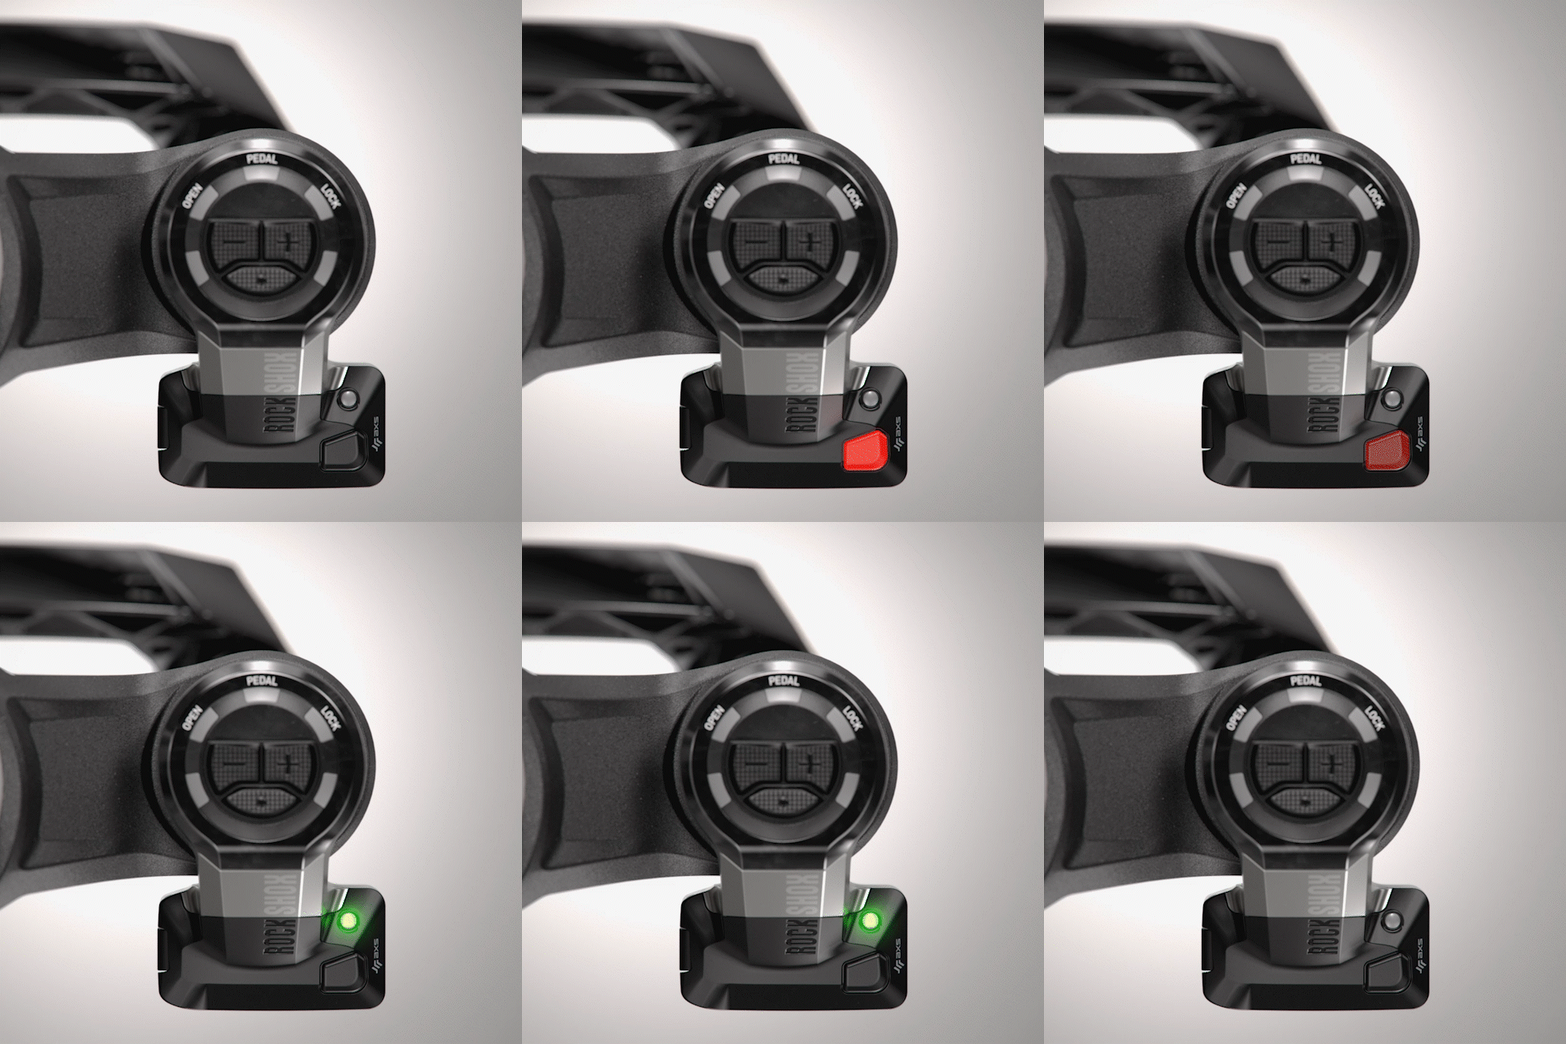
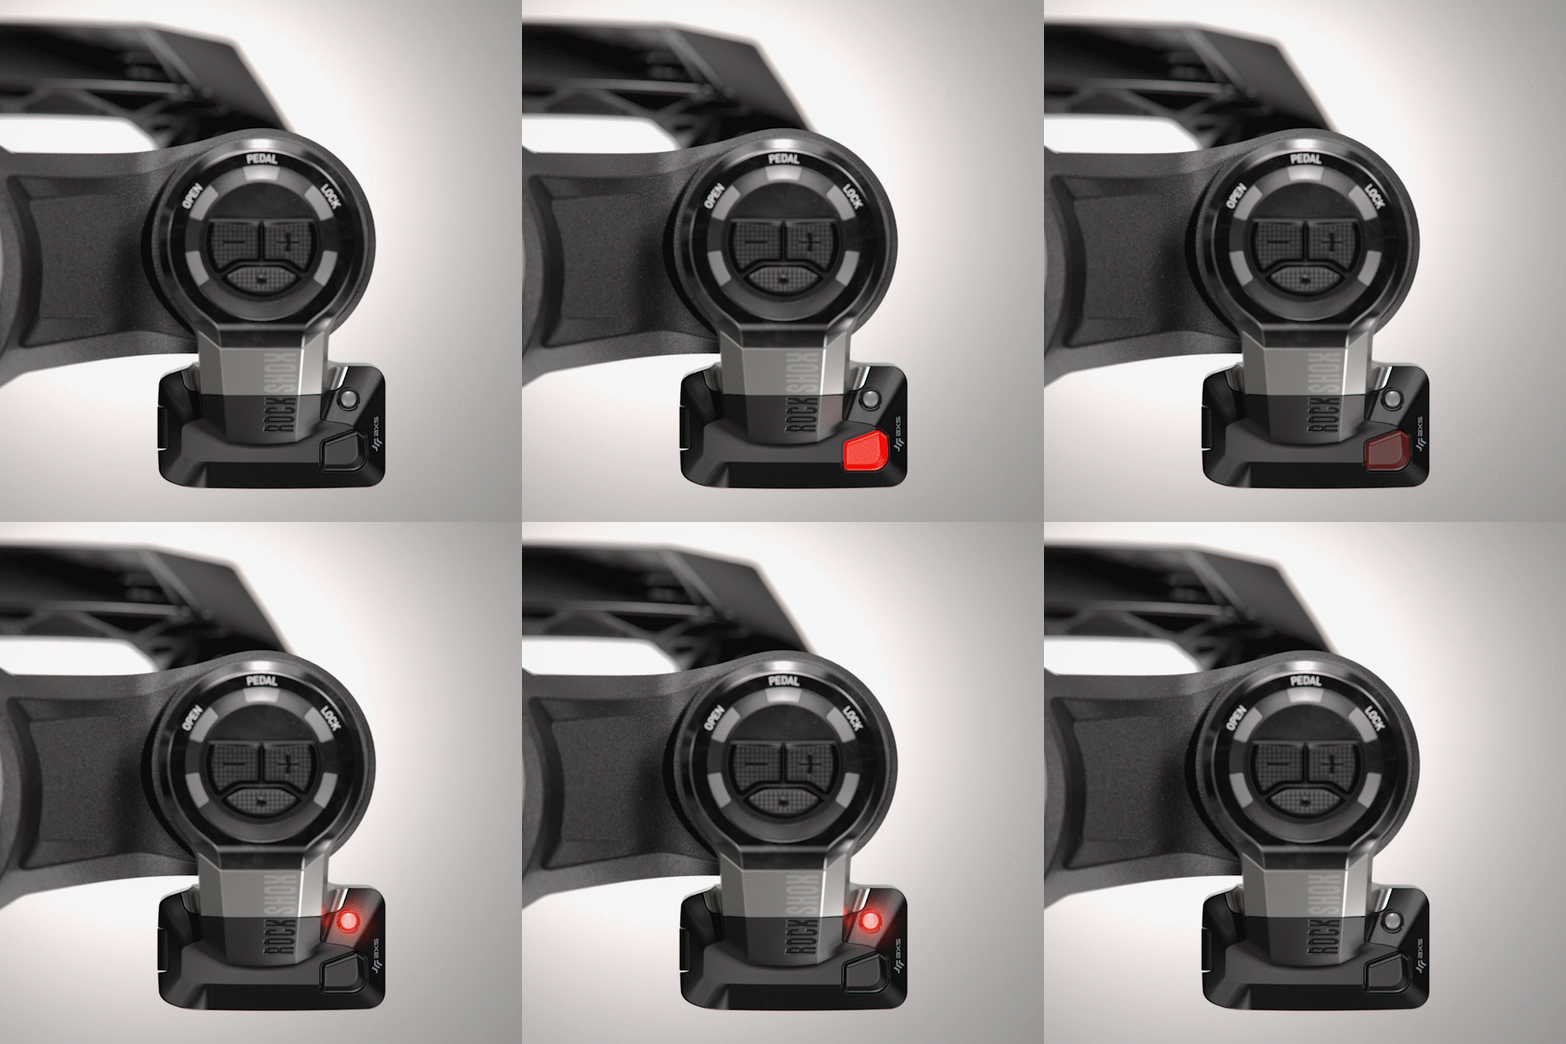
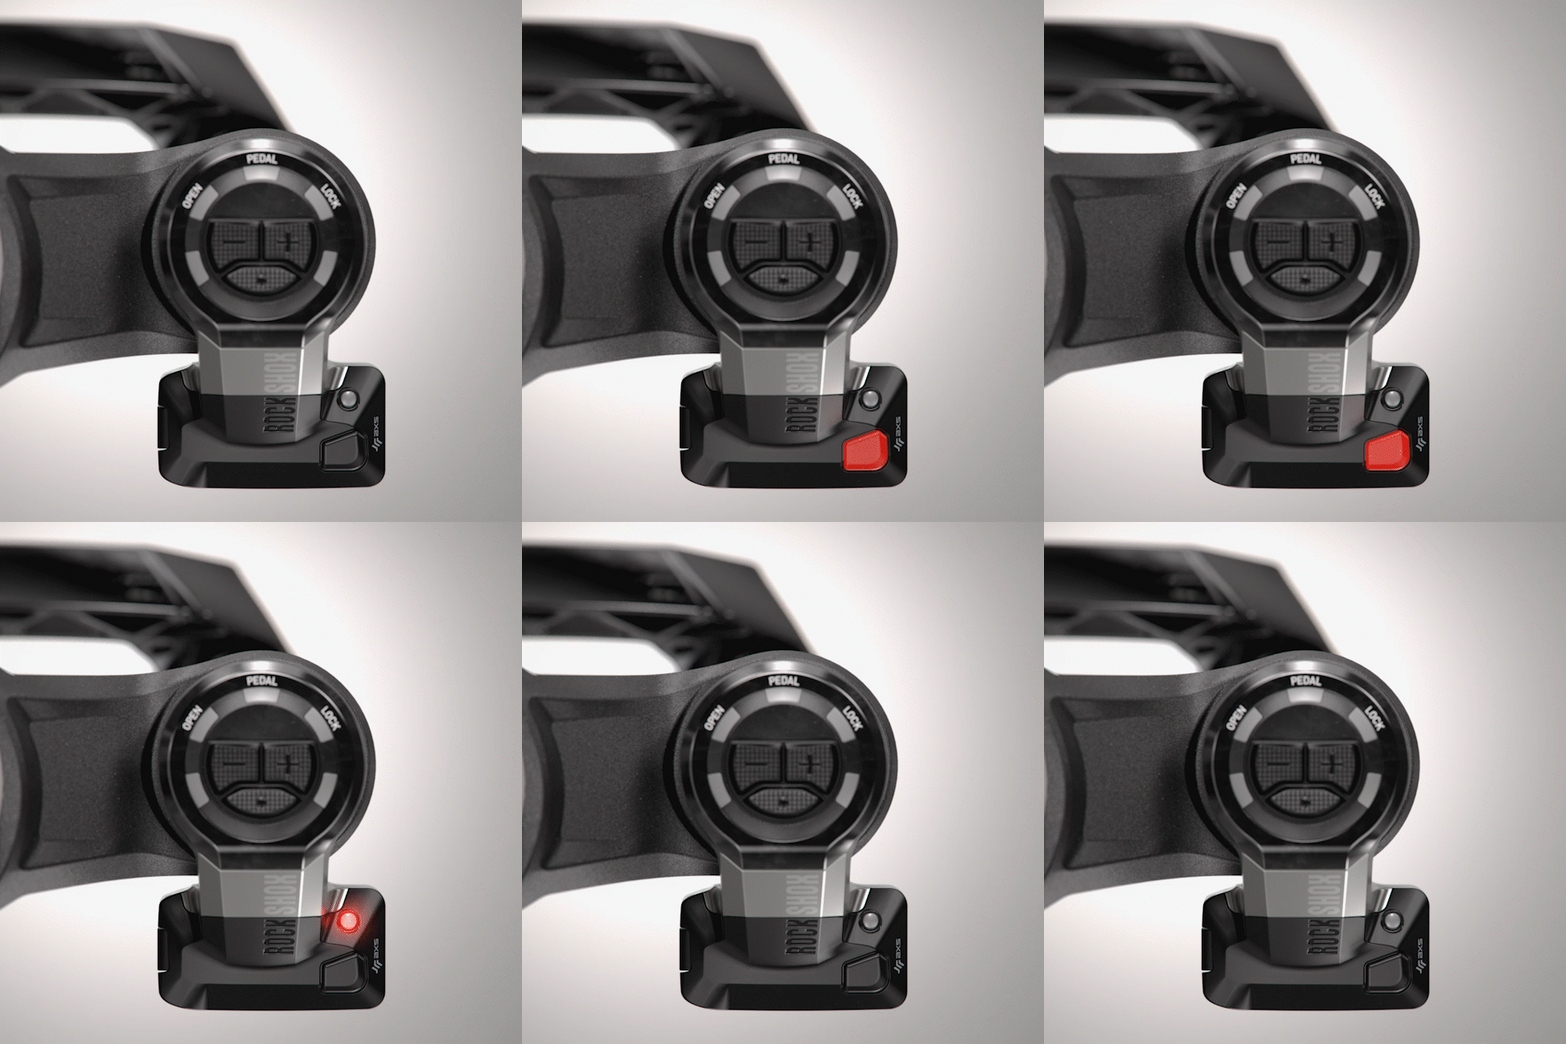
AXS LED (1 NEAR THE BATTERY)

  • Pairing confirmation
  • Battery status
  • Firmware updates

In this guide, you'll find the Control Module LED split into two groups for easy understanding: While You Ride and While You Tune. We'll then wrap up with the AXS LED.

Rider on RockShox Flight Attendant

WHILE YOU RIDE

FLIGHT ATTENDANT RIDE MODES

Think of Modes like Flight Attendant's behavior settings—they're the foundation of how the Flight Attendant system operates. Whether the system changes suspension states automatically or you control the system is determined by which Mode you select. The color of the top three LEDs indicate one of three Ride Modes: Auto Mode (green), Manual Mode (red), and Override Mode (orange)."


GREEN: AUTO MODE


Auto Mode is Flight Attendant's core Mode: a fully automatic system that reads rider input and terrain to deliver the right suspension position before you even realize it—seamlessly switching between Open, Pedal, and Lock positions. The green LED indicates your suspension position in real-time. 

ADAPTIVE RIDE DYNAMICS EFFORT ZONES

When the system is in Auto Mode, the two lowest Control Module LEDs indicate your current Effort Zone. These zones—Low, Medium, High, and Sprint—are determined by Adaptive Ride Dynamics, a Flight Attendant feature that analyzes effort data from your last eight rides.

Learn more

BLUE: LOW EFFORT ZONE


When your effort level is at or near recovery, Flight Attendant will set your suspension to a more comfortable feel. More often than not, this Effort Zone results in a more Open suspension position.

GRÜN: MITTLERE LEISTUNGSZONE


Wenn du dich moderat anstrengst, stellt sich Flight Attendant auf eine gute Balance aus Komfort und Effizienz ein. Dadurch erhält das Fahrwerk deines Bikes ein besseres Ansprechverhalten für unterschiedliches Terrain.

RED: HIGH EFFORT ZONE


When you are pushing near your limit, Flight Attendant adjusts your suspension to a firmer setting for a more pedaling efficiency. This matches an all-out effort on flat terrain or a steep climb.

YELLOW: SPRINT


When sprinting for the finish or past the competition, Flight Attendant will enter the Sprint Zone and prioritize efficiency above all else.

SPLIT STATES

While in Auto Mode, two suspension position LEDs can be illuminated at the same time. This means the fork and rear shock are in different suspension settings, called split states. This ensures the bike is the most efficient depending on the terrain and makes your ride feel smooth and natural.

Split states are only applicable when a rear shock is paired into the Flight Attendant system. 

RED: MANUAL MODE


Manual Mode gives you control over your suspension position whenever you need to opt out of Auto Mode's automatic adjustments. Choose between Open, Pedal, or Lock positions based on terrain or preferences, then re-engage Auto Mode whenever you're ready.

To enter Manual Mode, press and hold the Menu button on the Control Module until the LED turns red, then toggle through the suspension positions using the +/- buttons or with your assigned controller. 

ORANGE: OVERRIDE MODE


Override Mode allows you to bypass Auto Mode and jump straight to your desired Override position (Open, Pedal, or Lock). Override Mode is only accessible through an AXS controller.

Assign the controller and suspension position in the AXS app. Click the assigned controller button to enter Override Mode, then click it again to re-engage Auto Mode.

Tech Tip: Choose between instant press, a short 0.5-second press, or a longer 1-second hold to switch to Override Mode. Manage your settings in the AXS app.

FLIGHT ATTENDANT CONDITIONAL MODES

Conditional Modes engage when the system detects something may be off and needs further input. These Modes are: Search Mode, Safe Mode, Damper Error Mode – Fork, and Damper Error Mode – Rear Shock. Conditional Modes can use three or five LEDs to communicate.

YELLOW RUNNING: SEARCH MODE


If your power meter, Pedal Sensor, or E-MTB’s Cadence Sensor is asleep, the system will enter Search Mode.

Spin the crank to wake up the sensor, and the system will enter Auto Mode. If the sensor’s battery is dead, the system will not enter Auto Mode. Replace the battery and spin the cranks for the system to enter Auto Mode.

YELLOW PULSING: SAFE MODE


Flight Attendant will activate Safe Mode when the battery level of a component has reached a critically low state, or if a battery is missing from a component.

Install a fully charged battery to return to Auto Mode.

BLUE/YELLOW x 3/BLUE: DAMPER ERROR MODE–FORK


This color combination indicates that Flight Attendant’s Control Module hardware needs to be reset.

Try removing the AXS battery from the Control Module and reinstalling it to see if the system re-homes itself. If the Damper Error Mode persists, the Control Module may need to be removed and reinstalled as instructed for your fork.

PIKE/LYRIK/ZEB SID/SID SL

CYAN/YELLOW x 3/ CYAN: DAMPER ERROR MODE–REAR SHOCK


This color combination indicates that Flight Attendant’s Rear Shock Module hardware needs to be reset.

Try removing the AXS battery from the Control Module and reinstalling it to see if the system re-homes itself. If the Damper Error Mode persists, contact Rider Support.

two riders on mountain bikes equipped with Rockshox Flight Attendant

WHILE YOU TUNE

Once your system is set up to your liking, there are several ways to fine-tune it. There are four tuning settings: Bias Adjust, Low-Speed Compression (LSC) for both forks and rear shocks (available on select models), and Calibration. Tuning settings utilize all five Control Module LEDs to indicate adjustment.

PURPLE: BIAS ADJUST

Bias Adjust allows you to fine-tune how Flight Attendant reacts to your personal ride style while in Auto Mode. From the factory, the system is set right in the middle at Zero Bias for an effective balance of all three suspension positions (Open, Pedal, and Lock positions). Or, you can bias the system towards Open or Lock depending on your goals or the trail. Bias is adjustable at any point during your ride.


To adjust Bias, press the Menu button on the Control Module until the LED illuminates purple, then press the + to bias the system towards the Lock position for a firmer ride, or the – to bias the system towards the Open position for a softer, plusher ride.

BLUE: LOW SPEED COMPRESSION (LSC) FORK (PIKE/LYRIK/ZEB ONLY)

LSC affects how the fork feels in gradual compressions. Think berms, weight shifts, small bumps, and transitions—whenever the damper shaft moves slowly.

To adjust LSC, press the Menu button on the Control Module until the bottom left LED is blue, then press the + to add LSC, indicated by LEDs increasing in brightness from left to right. Press the – button to remove LSC damping.

CYAN: LOW SPEED COMPRESSION (LSC) REAR SHOCK (SUPER DELUXE/VIVID/VIVID COIL ONLY)

LSC affects how the shock feels in gradual compressions. Think berms, weight shifts, small bumps, and transitions—whenever the damper shaft moves slowly.


To adjust LSC, press the Menu button on the Control Module until the bottom left LED is cyan, then press the + to add LSC, indicated by LEDs increasing in brightness from left to right. Press the – button to remove LSC damping.

WHITE: CALIBRATION

Calibration helps Flight Attendant determine where the components exist in space and is initiated by the rider.  The LEDs will illuminate white during Calibration, which only needs to be completed before the first ride or after a Flight Attendant component is replaced.

To initiate Calibration, press and hold the + and – buttons on the Control Module until the Pedal LED turns White. Then follow the prompts at the link below.

Welcome Guide

For an in-depth overview of Flight Attendant’s LEDs, check out the Flight Attendant User Manual.

Rider on Rockshox Flight attendant equipped MTB

AXS LED

The AXS buttons and LEDs on your Flight Attendant components share the same functions as SRAM's derailleurs, seatposts, and controllers. Get to know the simple yet important functions of the buttons, plus the meanings of the LEDs on your AXS components.

AKKULADEZUSTAND PRÜFEN

Überprüfe den Akkuladestand deiner AXS Komponenten mit einem einzigen Knopfdruck auf die AXS Taste. Die LED neben der Taste leuchtet jetzt grün, rot oder blinkt rot und zeigt so die noch zur Verfügung stehende Ladung an.

KOPPELN DER KOMPONENTEN

Zum Koppeln der AXS-Komponenten benötigst du ebenfalls die AXS-Tasten und die LEDs helfen dir, den Prozess erfolgreich durchzuführen. Der Kopplungsprozess ermöglicht es den Komponenten, miteinander zu kommunizieren damit sie deine Befehle ausführen. Das Koppeln ist sehr einfach. Die AXS-App ist dafür nicht erforderlich.

WIE MAN EIN AXS-SYSTEM KOPPELT

AXS-APP NUTZEN UND FIRMWARE UPDATEN

Jede AXS-Komponente hat ihre eigene Firmware, die regelmäßig aktualisiert werden sollte, damit die Performance deines AXS-Systems optimiert wird und neue Features erhält. Für ein Firmware-Update musst du ein paar Schritte mit der AXS-App, den AXS-Tasten und den -LEDs durchlaufen.

MEHR ERFAHREN

MAKE FLIGHT ATTENDANT YOURS

LEARN MORE

FLIGHT ATTENDANT TROUBLESHOOTING

LEARN MORE