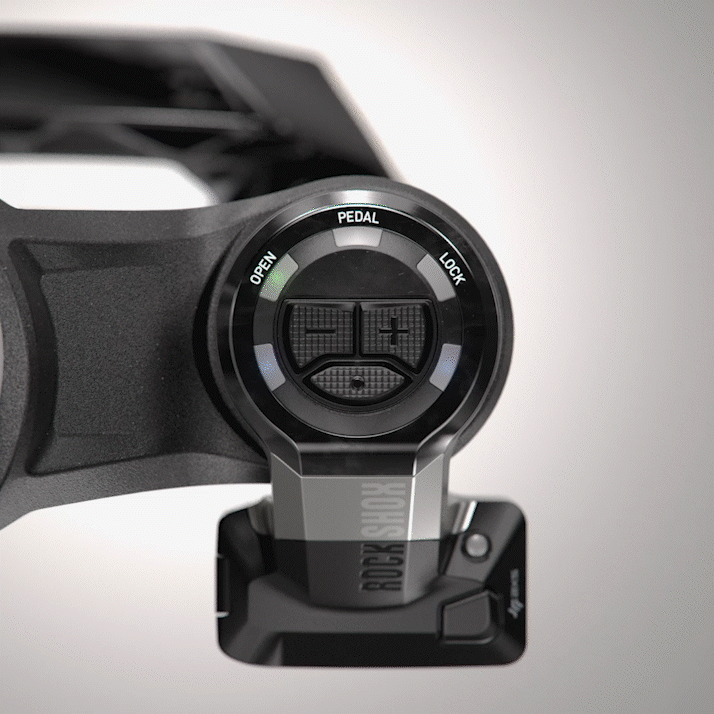
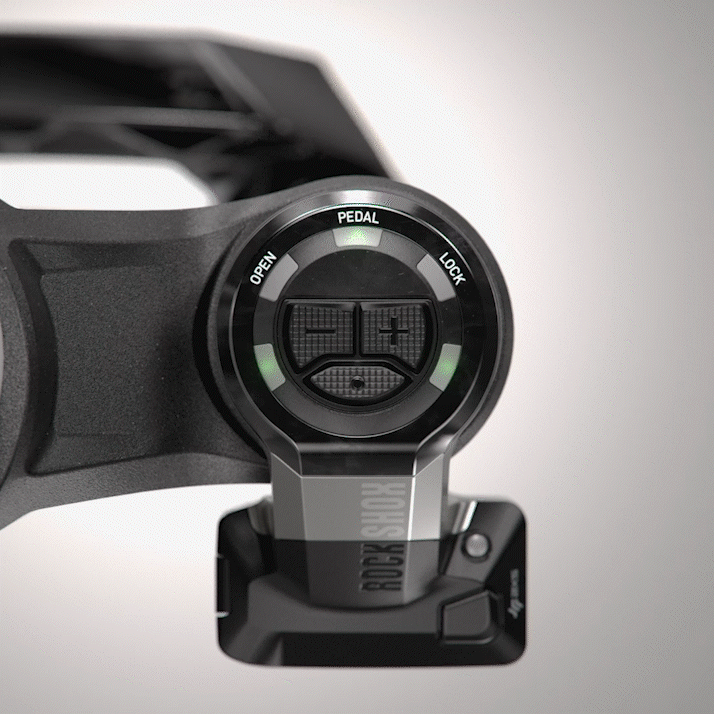
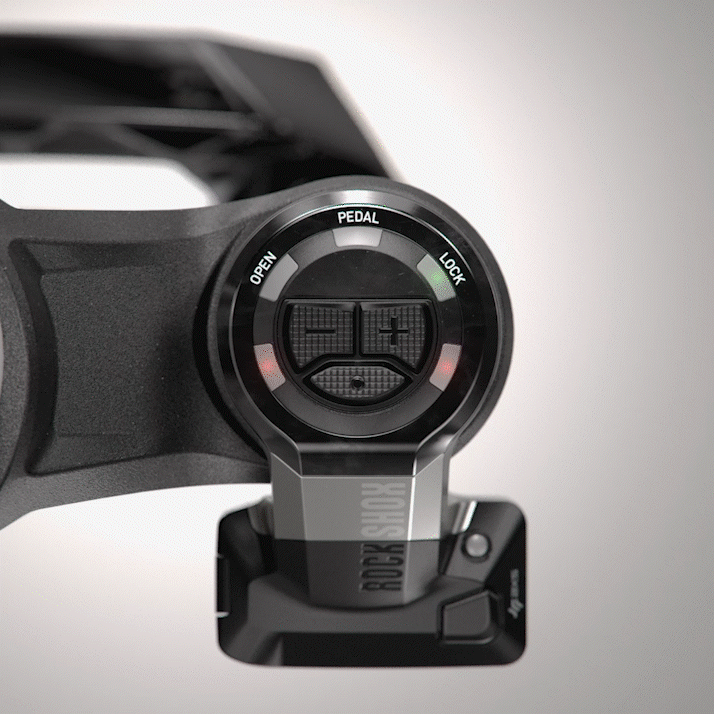
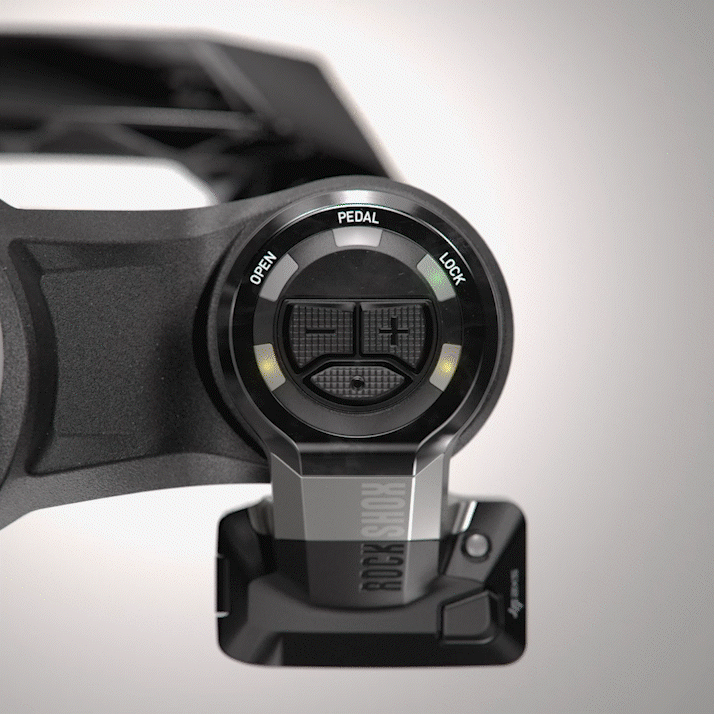
{{ data.msg }}

Your browser does not support all of our website’s functionality. For an improved shopping experience, we recommend that you use the most recent versions of Google Chrome, Safari, or Firefox.

HOW TO PERSONALIZE YOUR SETUP

Flight Attendant is all about making you more efficient—using real-time data from you and the trail to put your suspension in the right position at the right time. Whether you know exactly how you want your system to respond or you're just starting to explore how Flight Attendant transforms your ride, we'll walk through dialing in your suspension and customizing your Flight Attendant system to match your ride style.

SUSPENSION TUNINGFLIGHT ATTENDANT PERSONALIZATION

Suspension Basics

SUSPENSION BASICS

Perfectly personalized suspension is well within your reach. We’re here to walk you through suspension setup, starting with fine-tuning your air spring and then dialing in your Rebound and Low Speed Compression.

Related Image

INITIAL SETUP


Suspension setup is specific to each rider, their style, where they ride, and can change based on each of those variables. Use the TrailHead app or check out the chart on the fork’s lower leg to get a starting air pressure suggestion. For rear shocks, use the TrailHead app.

Follow these steps to establish a good baseline, but we encourage you to make adjustments to find what feels best for you as your riding style evolves.

  1. Remove the air valve cap and thread on the shock pump. Add or remove air depending on the recommended starting pressure and remove the shock pump.   
  2. Adjust the Rebound knob based on the TrailHead suggestion—the suggested setting is the number of clicks from Closed or slowest position, indicated by the turtle icon. This is just a starting point.  
  3. Slowly—like, really slowly—compress the fork / rear shock a few times to equalize the air pressure between the positive and negative chambers.  
  4. Attach the shock pump and re-pressurize the air spring to the suggested starting point. The pressure can drop as the air you put into the air spring moves into the negative chamber during equalization, requiring you to re-pressurize the air spring until you get to the right pressure.  
  5. Move the red o-ring against the rubber wiper seal on your fork and rear shock. This will indicate how much travel you’ve used during your ride and whether your air spring is set up correctly. Ideally, you use most of your travel while riding, but occasional bottom outs on bigger hits is normal. 
  6. Go ride! Preferably on a trail that you ride often to get the best idea of setup.  
Related Image

FINE TUNE YOUR RIDE


Ok, so you’ve ridden a few times, and your fork feels almost perfect, but maybe you notice your hands feel a bit beat-up after techy descents, or it’s hard to maintain control of the front wheel after impacts. Let's take a look at your options for fine-tuning.

DIAL IN YOUR AIR SPRING FIRST

Air springs absorb impacts from the trail to provide comfort and support. We aim for a soft but supportive feel, occasionally using all your travel but not bottoming it out too often.

Related Image

If the suspension feels too firm, doesn't easily compress when cycling the suspension, or isn't using all of the travel, drop five PSI at a time until the suspension achieves full travel when needed.

If the suspension feels too soft, isn't supportive in the middle of the stroke, dives through travel, or is bottoming out regularly, add five PSI until it feels more supportive and you aren't bottoming out too frequently.

If you’re bottoming out often each ride, but the suspension feels soft and supportive, you may need to add a Bottomless Token for bottom-out support.  Instructions for adding and removing Bottomless Tokens can be found in your suspension's Service Manual, available through the TrailHead App or at sram.com/service.

REBOUND ADJUSTMENT

Rebound affects how quickly the suspension returns to full travel after compression.

Related Image

If the suspension rebounds too quickly, causing a pogo effect that can decrease wheel control or contact with the ground, add 1-2 clicks of Rebound damping at a time by rotating the Rebound Knob clockwise (toward the turtle to slow it down).

If the suspension rebounds too slowly, causing the suspension to feel packed down (like the suspension has less and less travel with each consecutive hit), remove 1-2 clicks of Rebound damping at a time by rotating the Rebound Knob counter-clockwise (toward the jackalope to speed it up).

TECH TIP: You may need to adjust your Rebound speed when making significant air spring pressure changes. While it's not an exact science, generally, removing 5-10 PSI from your air spring could necessitate removing rebound damping 1-2 clicks since the Rebound circuit has less air pressure to work against.

The same concept applies to adding air spring pressure: 5-10 PSI more could require increasing rebound damping to balance out the higher air pressure.

LOW SPEED COMRESSION (LSC) ADJUSTMENT

LSC affects how the suspension feels in gradual compressions. Think berms, weight shifts, small bumps, and transitions—whenever the damper shaft moves slowly. 

Available on Flight Attendant versions of Pike, Lyrik, ZEB, Super Deluxe, Vivid, and Vivid Coil Ultimate. Not available on Flight Attendant versions of: SID, SID SL, or SIDLuxe Ultimate.

If the suspension feels too soft, dives into travel, or feels floppy and unsupported during low-speed events, add 2-3 clicks of LSC at a time for more support. Press the Menu button on the Control Module until the bottom left LED is blue, then press the + to add LSC, indicated by LEDs increasing in brightness from left to right.

If the suspension feels harsh, is not using enough travel, or is unsettled in low-speed events, remove 2-3 clicks of LSC at a time to soften the damper. Press the Menu button on the Control Module until the LEDs are blue, then press the – button to remove LSC, indicated by LEDs decreasing in brightness from right to left.

Riders on Rockshox Flight attendant suspension

FLIGHT ATTENDANT PERSONALIZATION

Now that your suspension is set up, let’s look at how to tune your system. We'll start with how Bias Adjustment tells your system to react to the trail, then we'll explore how Adaptive Ride Dynamics learns from you to calculate your Effort Zones for a truly personalized ride experience. Then, we'll wrap up ways to customize Flight Attendant in the app.

BIAS ADJUST

Bias Adjust is the first step to personalizing your Flight Attendant system.  Your Bias informs Flight Attendant how to react to trail input—favoring a firmer or softer ride feel—depending on your ride goals or personal preferences.

From the factory, the system is set in the middle at zero for an effective balance of all three suspension positions (Open, Pedal, and Lock positions), but you can change your Bias setting at any point during your ride. There’s no right or wrong—Bias Adjust is all about dialing in the feel to match your preferences.

POSITIVE BIAS

When you bias the system towards Lock position (+1 or +2), it favors Pedal and Lock positions to maximize rider efficiency.


NEGATIVE BIAS

When you bias the system toward Open position (-1 or -2), it will be less likely to lock, giving you a more comfortable ride.

UNDERSTANDING ADAPTIVE RIDE DYNAMICS AND EFFORT ZONES

Next up in Flight Attendant personalization is Adaptive Ride Dynamics and Effort Zones. Adaptive Ride Dynamics is a feature of Flight Attendant's algorithm that learns how you ride to continuously personalize your suspension without any direct input from the rider. Adaptive Ride Dynamics analyzes your effort data from the past eight rides to calculate your personalized Effort Zones.

Effort Zones help Flight Attendant know the difference between cruising with your friends and an all-out sprint, so your suspension can be exactly in the right position when you want it. Adaptive Ride Dynamics requires a power meter to build and maintain your Effort Zones, but the more SRAM AXS components you use, the more data Flight Attendant has to make suspension state decisions.

You might be wondering how Bias Adjust and Adaptive Ride Dynamics work together. Think of it like adding your favorite toppings to a post-ride pizza, or customizing your coffee order on the way to the trailhead—they complement each other to make your ride experience uniquely delicious, ahem, yours. Bias Adjust tells the system how to adapt for the trail, and Adaptive Ride Dynamics tells the system how to adapt for you.


ADAPTIVE RIDE DYNAMICS PREFERENCES

Want to have more input on your Effort Zones? Great news—you can have as little or as much input into your Effort Zones as you'd like.

Related Image

AUTO DETECT


Adaptive Ride Dynamics is set to Auto Detect, learns from you continuously, and you live in harmony with Flight Attendant adapting as your fitness ebbs and flows. Whenever Adaptive Ride Dynamics is set to Auto Detect, your numbers will reflect data from your last eight rides.

Related Image

MANUAL


Adaptive Ride Dynamics is set to Manual (selectable at any time) and you tweak your Effort Zones to be exactly what you want. The system will still learn from you in the background, but your Effort Zone numbers will not update.

Related Image

OFF


Adaptive Ride Dynamics is set to Off. This option removes your effort trends as a factor in Flight Attendant's suspension position decisions. The system will still learn from you in the background, but your Effort Zone numbers will not update.

AXS APP Settings

AXS APP SETTINGS

The AXS Mobile App is a centralized place to control and personalize all AXS enabled components from SRAM and RockShox. Download the app to personalize your Flight Attendant system.

DOWNLOAD FOR IOS  DOWNLOAD FOR ANDROID

Related Image

LOCK DISABLE


Choose from two Lock Disable settings: full system (fork and shock) or fork only. When these settings are selected, the system will toggle between only Open and Pedal suspension settings while in Auto Mode.
Under the “Flight Attendant” drop down in the app, under Auto Mode, you can select your Suspension Settings.

Related Image

CONFIGURE CONTROLS


The SRAM AXS app allows you to assign controllers to engage Override Mode, shift gears, and adjust your seatpost in the configuration that works best for you. With Flight Attendant, you can choose between an instant press, a short .25-second press, and a longer one-second hold to engage Override Mode.  

Related Image

DARK MODE


Enabling Dark Mode reduces LED illumination on the Control Module while you're riding. Your LEDs will still light up when the Menu Button, Adjustment Buttons (+/-), or AXS controller paddles are pressed. Dark Mode can be enabled separately for Suspension Position (Open, Pedal, Lock) and Effort Zone (Low, Medium, High, Sprint) LEDs.

SHOP SRAM

Spare AXS batteries and 4-port AXS battery chargers. You want them. We have them. Find them and more at shop.SRAM.com.

LEARN MORE

FLIGHT ATTENDANT WELCOME GUIDE

LEARN MORE

LED GUIDE

LEARN MORE