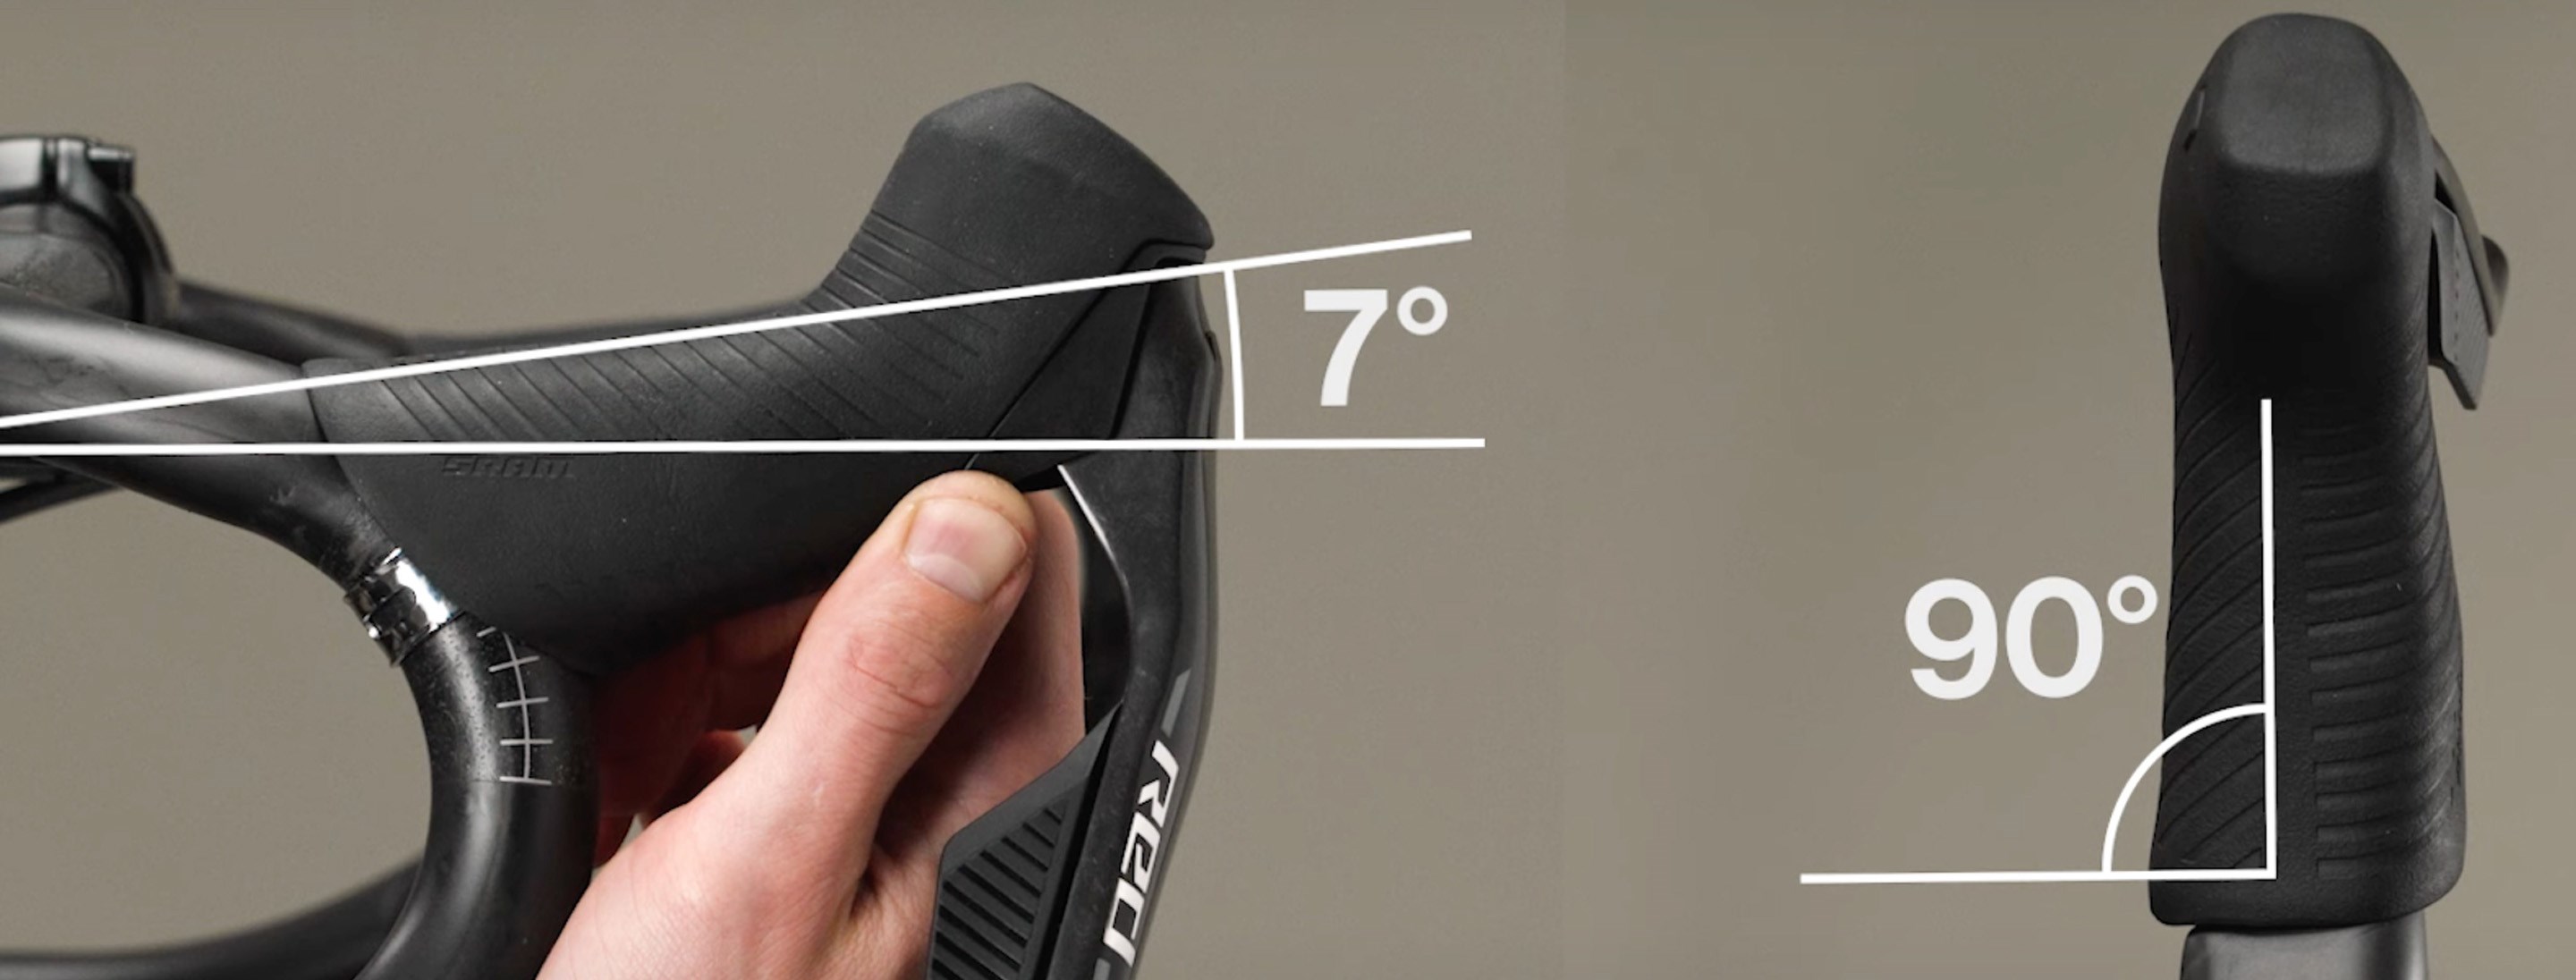
Start by positioning your bike level to the ground. While it’s possible to do so with your bike in a repair stand, you may find it easier to spot the levelness of the shifters with the bike standing upright on an even surface. Once you’ve confirmed the bike is level, select your shifter type below to continue:

The top of the hood will now be seven degrees from level. Why a seven-degree rise? It’s the optimal hood angle to create a neutral wrist position. Rest your hands on the hoods to make sure your wrists feel comfortable in your primary riding position.
Rotate each shifter so that the edge of the molded grooves on the top, inboard side of the hood cover are aligned 90 degrees to the centerline of the handlebar. Note that the molded grooves look slightly different on RED, Force, and Rival AXS hoods, but they will all align using the same procedure.

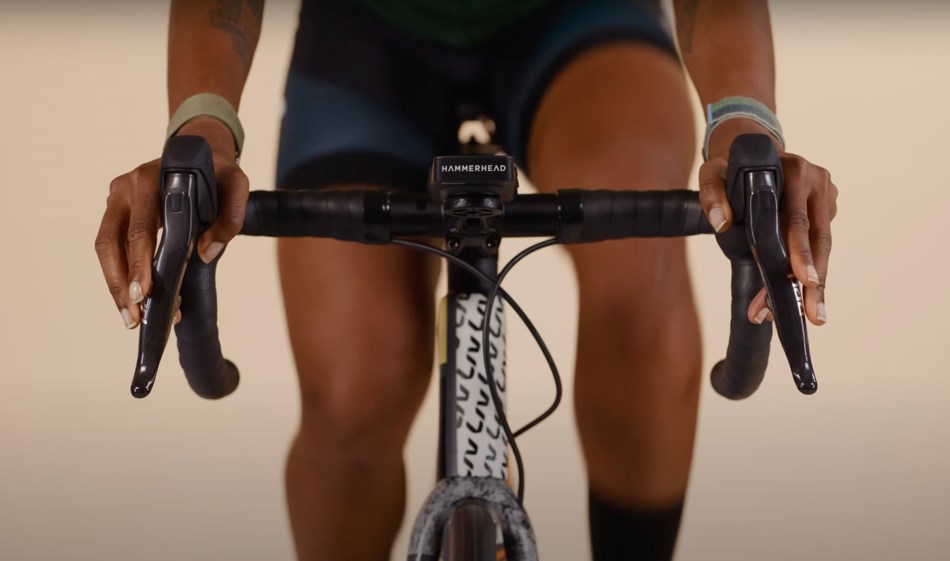
Keep in mind that these adjustments are a starting point, and we encourage you to refine your shifter positioning to your liking. Sit on the bike and check your fit and feel on the hoods before fully tightening the shifters.
From the front of each shifter, fold the hood cover back to access the shifter clamp bolt. Tighten the bolt with a 5 mm hex wrench by turning clockwise. Torque each bolt to 6 Nm with a torque wrench.
Once torqued to spec, make sure the shifters do not move when force is applied. If you feel any movement when you push them from side to side by hand, loosen the clamp bolt counterclockwise two full rotations and torque the bolt again.
With your shifters properly positioned and tightened, you’re ready to roll the hood covers forward. When you reach the top of the shifter body, find the groove where the hood cover rests and push the top of the hood into place. Grip the hood cover and pull it downwards to fully seat the rubber.


