{{ data.msg }}

Your browser does not support all of our website’s functionality. For an improved shopping experience, we recommend that you use the most recent versions of Google Chrome, Safari, or Firefox.

WELCOME TO SRAM ROAD BRAKES

SRAM hydraulic disc brakes provide road and gravel riders with superior power and feel with proper setup and regular service. To ensure your brakes are working as they should, let’s cover some simple fixes to common brake issues:

detail image of SRAM Red disc brake caliper on fork

TOOLS AND SUPPLIES YOU’LL NEED

Hex Wrenches: 2.5 mm, T25

Bit Sockets: 2.5 mm, T25

TORX Wrenches: T25

TORX Bit Sockets: T25

Torque Wrench

Needle Nose Pliers

Safety Glasses

Nitrile Gloves

Piston Massage Spacer or appropriate spacer

TROUBLESHOOTING STICKY PISTONS, PAD RUB, OR UNEVEN PAD ADVANCEMENT

Over time, dirt and grime can keep your brake caliper pistons from moving freely. Since the pistons are responsible for moving the brake pads, this can result in pads not advancing far enough to provide adequate brake power, or pistons not retracting evenly. To correct this, follow the piston massage procedure:
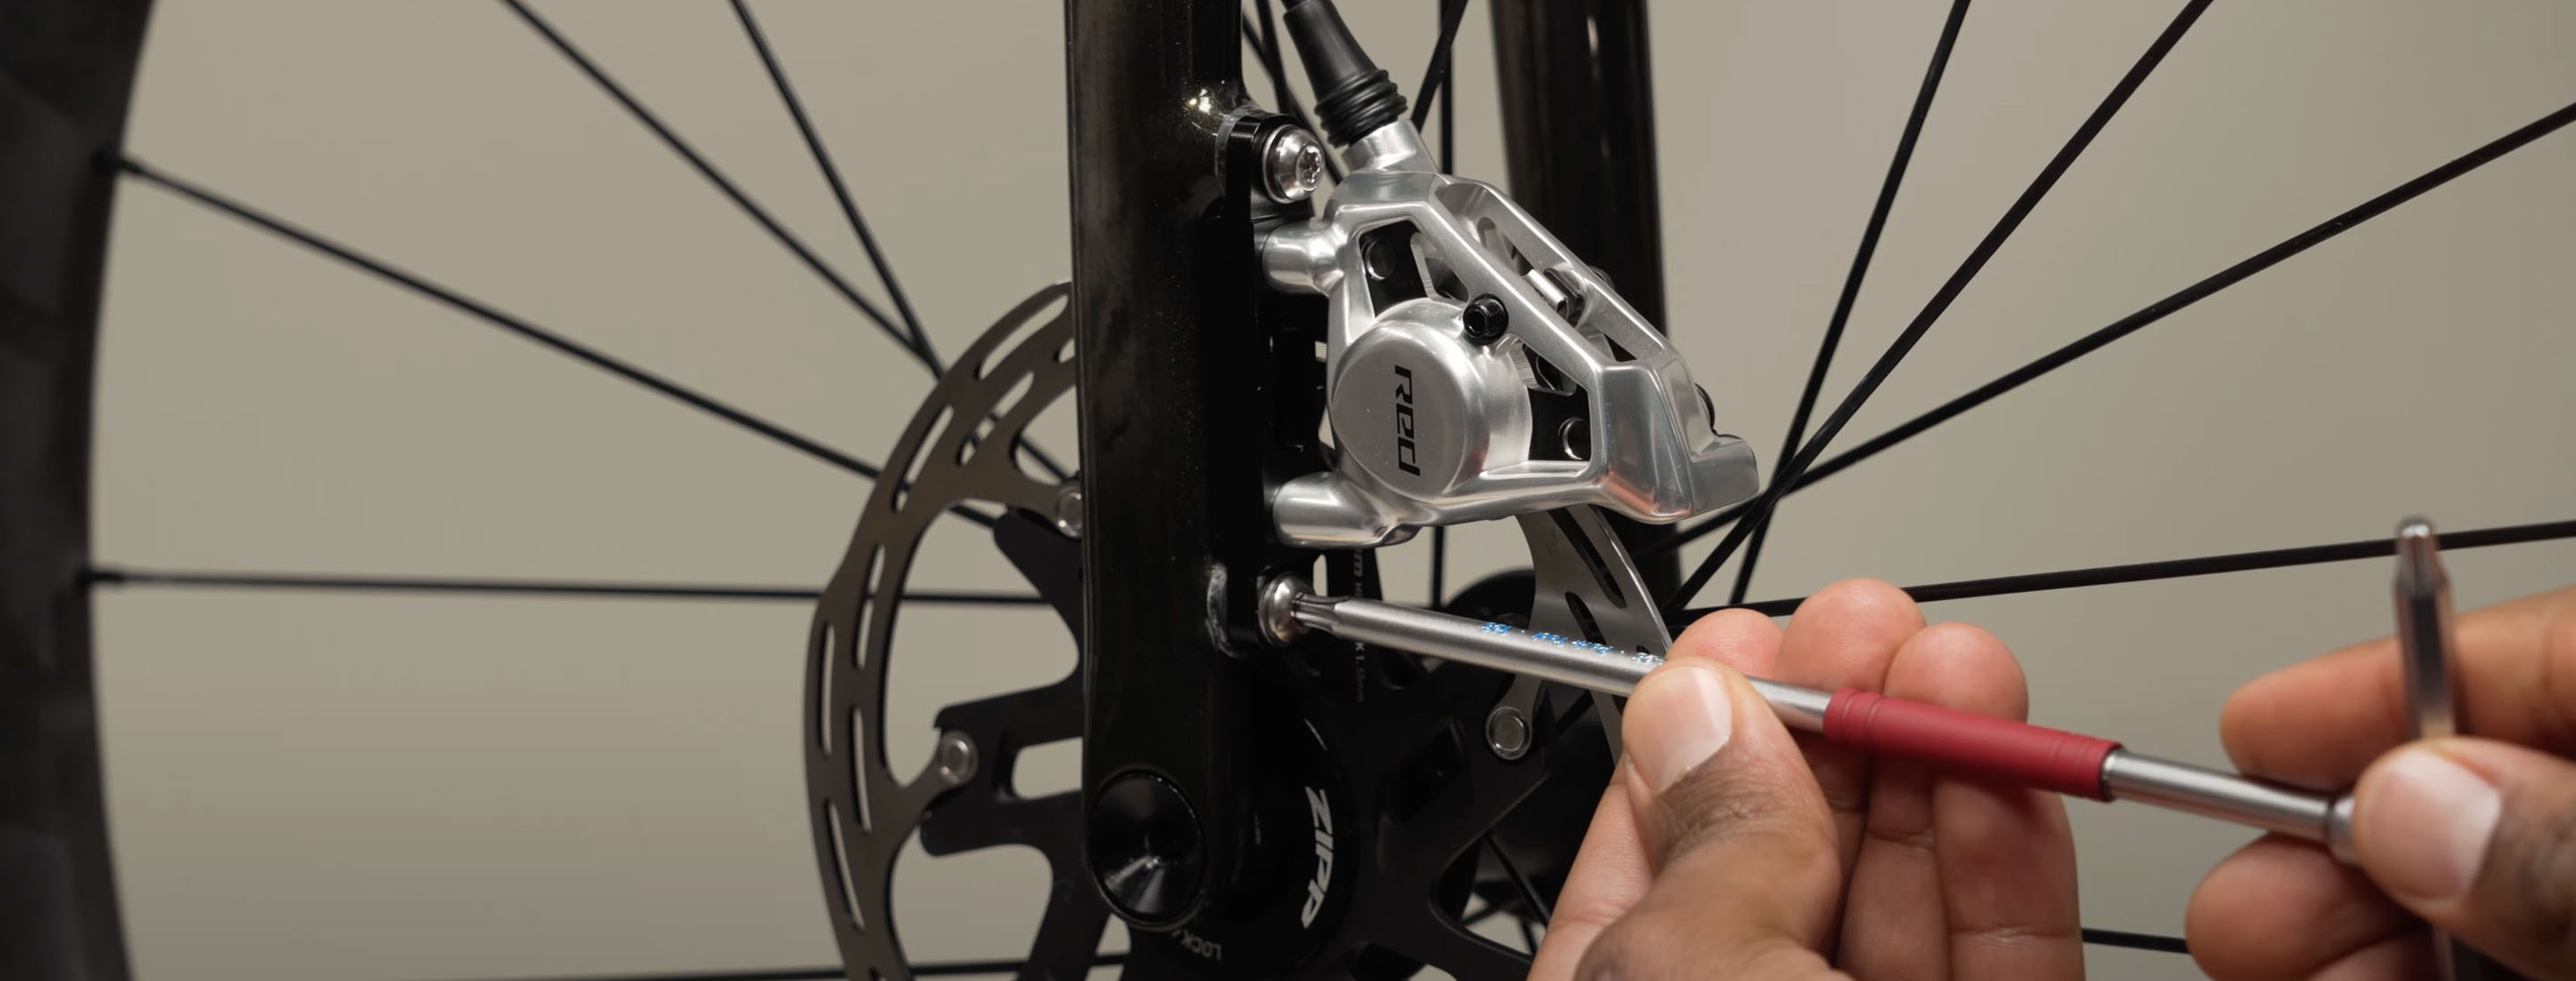
1. Remove the wheel from the frame. 

2. Remove the brake pads from the caliper. 

3. Install the proper pad spacer for your model of caliper. 

4. Gently squeeze the brake lever several times until the pistons have advanced and contact the pad spacer. One piston will always move slightly faster than the other; don't worry about that. Continue to squeeze the lever until the pistons touch the spacer. 

5. Remove the pad spacer and gently push the pistons back into the caliper with a plastic tire lever. 

6. Repeat steps 3 and 4 until the pistons move smoothly and evenly. This can take several repetitions. 

7. Reinstall the brake pads. 

8. Reinstall the wheel 

9. Loosen the caliper bolts. 

10. Lightly squeeze the brake lever several times to position the pads correctly. 
Center the caliper and tighten the bolts. 

TROUBLESHOOTING LEVER PULLS TO HANDLEBAR

If you grab your brake lever and it pulls all the way to the handlebar, there could be different causes depending on the age of the bike:
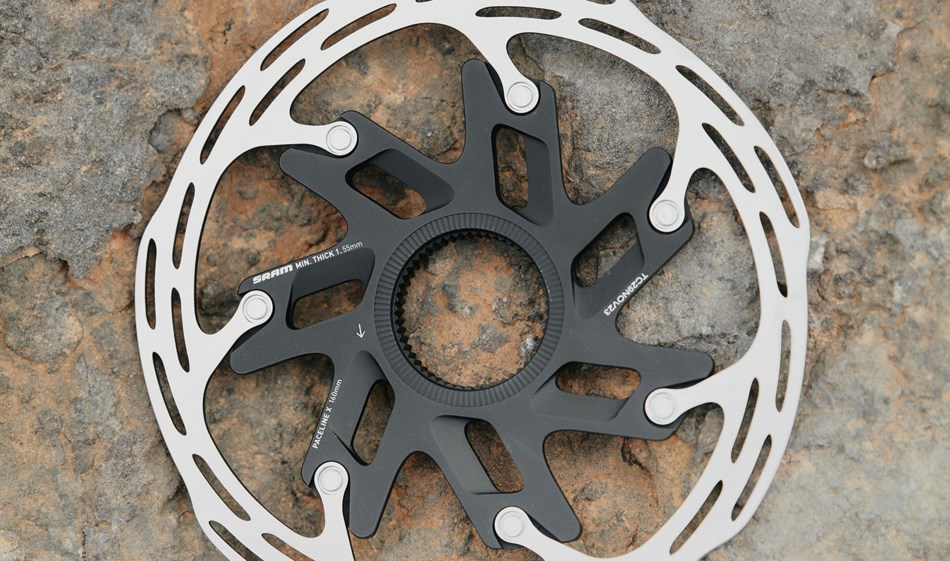
If the bike is brand new, first try the piston massage procedure outlined above. It may simply be that you need to get the new pistons moving and ready to brake. Consider setup too. If the brake hose was cut to length during installation, the system must be bled. When cutting and bleeding, take care to follow the proper steps outlined in our manual, including setting the Pad Contact to the full out position. Use DOT compatible grease whenever it is specified. Make sure you do not install the olive backwards. And be sure to use a torque wrench to bring the compression nut to 8 Nm torque. Failure to follow these proper steps can allow air to easily enter the system.

If you’ve been riding the bike for a while, check to see if it’s time for your pads to be replaced. If the total thickness of the pad material and backing plate is less than 3 mm, it’s time for new pads. Find the appropriate pads for your calipers in the Spare Parts Catalog (organic with steel backing is our standard road material) and order them from your local SRAM dealer. If your pads still have life left, ensure your pistons are moving properly by going through the piston massage procedure outlined above. You may also want to inspect your brake lines to ensure they aren’t kinked anywhere.

Is your bike more than a year old? It’s time for a brake bleed. Bleeding your brakes will remove air and water from the brake fluid, increasing the fluid’s boiling point and optimizing brake function. It’s an easy process that will leave your brakes feeling like new again, and if you don’t want to tackle it yourself, your local SRAM dealer has expert mechanics. 

TROUBLESHOOTING NEW BRAKES WITH NO POWER

Related Image

Fresh out of the box, your new brakes won’t feel like they have any power until you go through the bed-in process. Bedding in your brakes will deposit an even layer of pad material onto the braking surface of the rotor. This will ensure power, consistency, and quiet braking for the life of the rotor. Bed-in your brakes before your first ride:
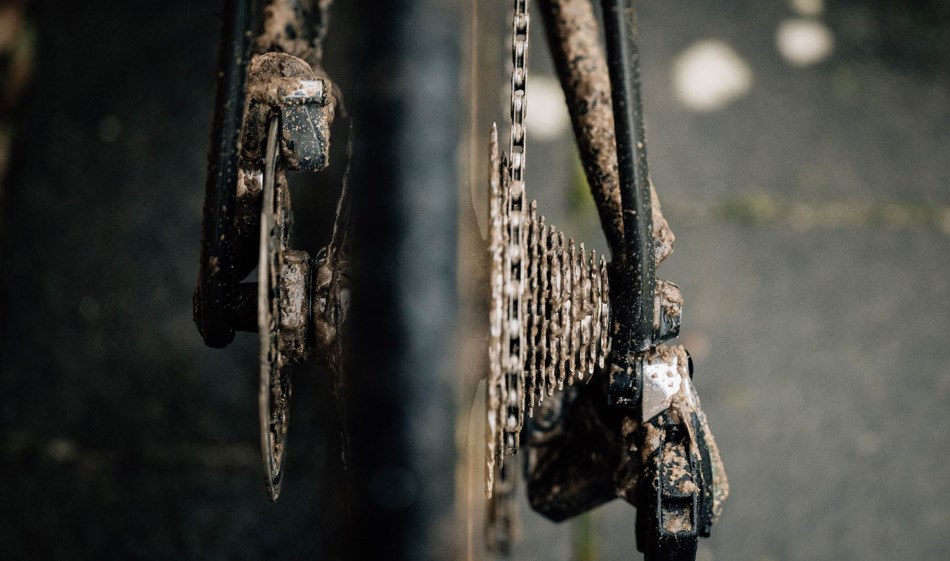
To safely achieve optimal results, remain seated on the bike during the entire bed-in procedure. Do not lock up the wheels at any point during the bed-in procedure.

  • Accelerate the bike to a moderate speed, then firmly apply the brakes until you are at walking speed. Repeat approximately twenty times.
  • Accelerate the bike to a faster speed, then very firmly apply the brakes until you are at walking speed. Repeat approximately ten times.
  • Allow the brakes to cool prior to any additional riding.
  • After the bed-in procedure has been performed, the caliper may need to be re-centered.

TROUBLESHOOTING NOISY BRAKES

Related Image

Disc brake noise can be a matter of some water or dirt temporarily getting on the rotors. If previously quiet brakes start making a noise, clean the rotors with isopropyl alcohol.

If the noise is more persistent and remains long term, the pads may be contaminated, or improper bed-in left inconsistent layers of pad material on the rotor surface. The solution is the same in either case: Replace the pads and rotors and carefully follow the bed-in process before riding again.

Related Image

Replace Center Lock Brake Rotors

Related Image

Replace Disc Brake Pads

LEARN MORE

AXS BIKE CARE AND MAINTENANCE

LEARN MORE

DIGITAL TROUBLESHOOTING FOR AXS

LEARN MORE