{{ data.msg }}

Your browser does not support all of our website’s functionality. For an improved shopping experience, we recommend that you use the most recent versions of Google Chrome, Safari, or Firefox.

KNOW YOUR APEX

SRAM Apex mechanical shifting is simple to use and packed with features to make every ride the most fun. In this guide, you will get to know your drivetrain and brakes—starting with the fundamentals for your new bike.

Still need to install your drivetrain? Installation is easy. 


RIDE ESSENTIALS

STEP 1: How To Shift

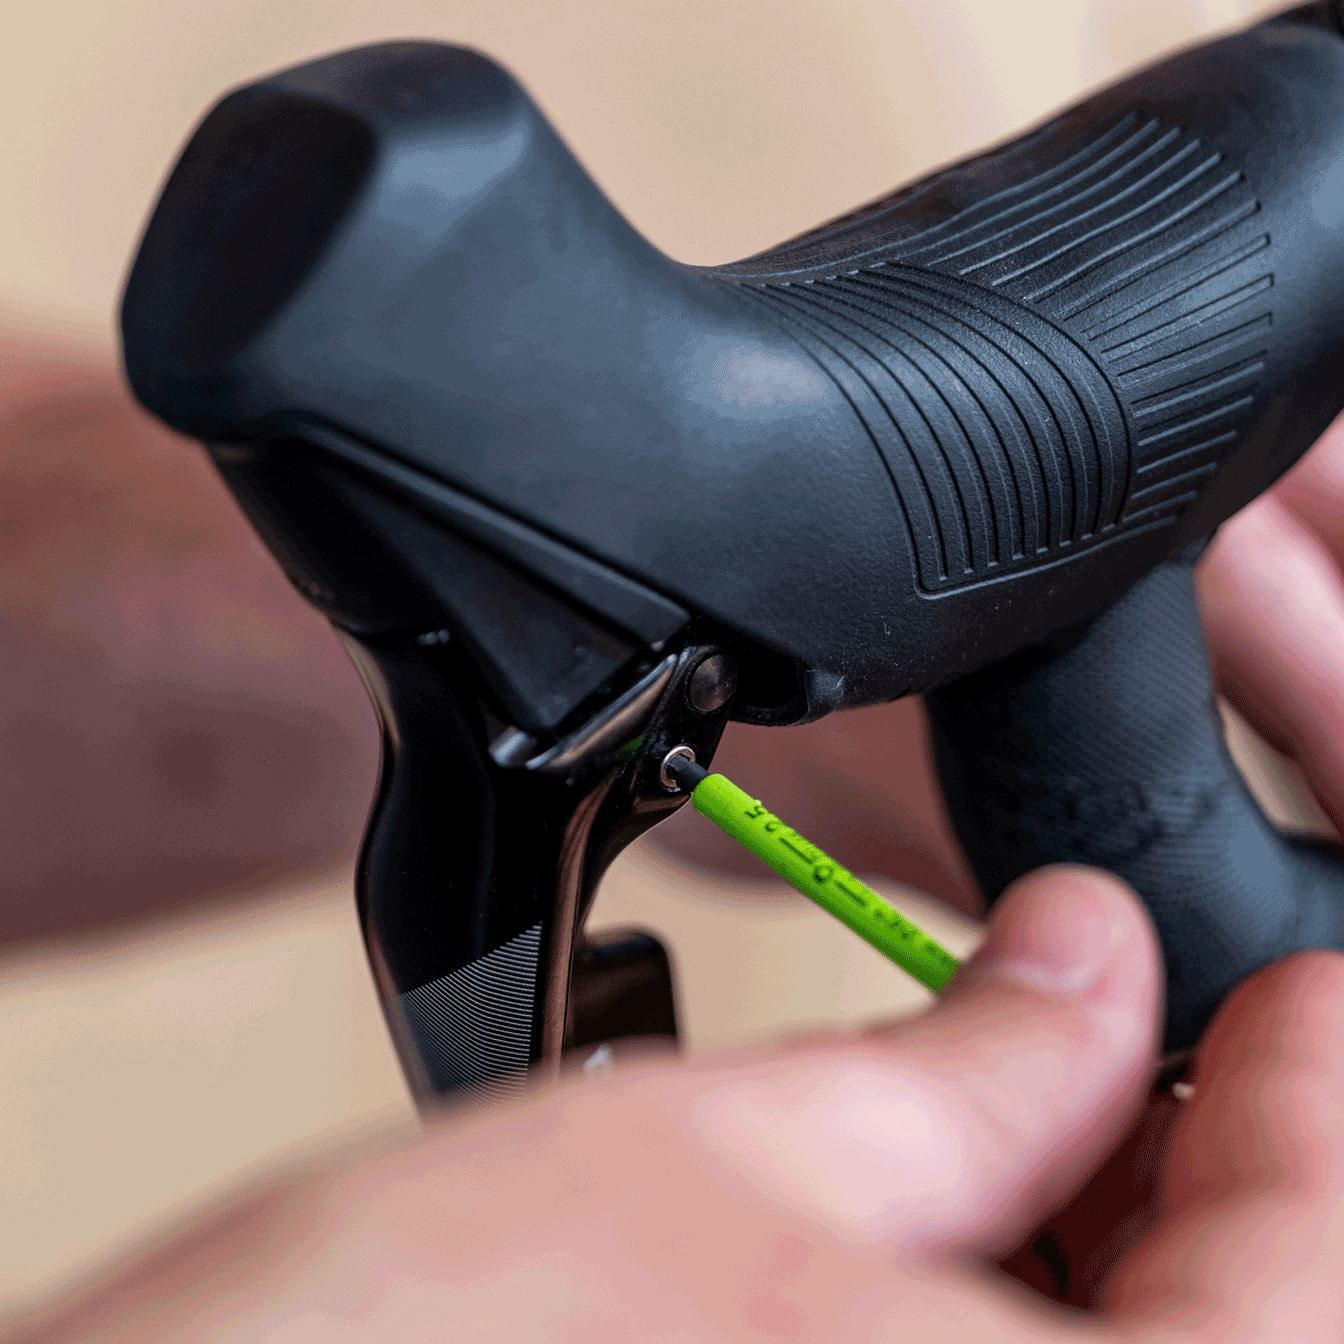
Your righthand Apex shifter uses DoubleTap technology to shift your rear derailleur with a single paddle. It handles up and downshifts in one short sweeping motion, with minimal effort and maximum comfort no matter where you are on the bars.

To shift into a harder gear, push the shift lever one click. This is known as upshifting. Shifting to easier gears, or downshifting, takes two or more clicks. You can even downshift multiple gears at once with one sweeping push of the lever.

STEP 2: Optimize Your Brakes

The hydraulic disc brakes that come on your bike ensure the best power and control for riding in all conditions on any terrain. To get the most out of your new brakes, complete the brake bed-in procedure before your first ride. Bed-in is the process of controlled slowing to gradually heat the braking surface while evenly embedding brake pad material into the disc rotor. Proper bed-in prevents brake noise and allows for consistent performance. 

VIEW MANUAL

Related Image

STEP 3: Adjust Your Reach

Change how easy it is to grab the brake lever or reach the shift paddle from the drops with Reach Adjust. Use a 2.5mm wrench to tailor your brake and shift lever position in two simple steps:
• First, turn the screw on the inboard side of the shift paddle with a 2.5mm wrench in either direction to select one of four positions.
• After setting the shift paddle reach, adjust the brake lever reach by turning the 2.5mm screw underneath the hood clockwise to bring the brake lever closer to the drops, or counterclockwise to move it away.

TECH TIP: To ensure proper brake engagement, we recommend performing the pad advancement procedure to compensate for the new lever position. This will prevent the brake lever from contacting the handlebar or pinching fingers.

pad advancement procedure

KNOW YOUR DRIVETRAIN

Related Image

Clutch and Cage Lock

Your complete bike has 1x-specific gearing that’s thoughtfully chosen for its intended use. 1x, pronounced “one-by,” drivetrains are perfect for many disciplines with built-in single chainring simplicity, chain retention technology, and all the range you need. Perfect for rough gravel riding, your Apex derailleur features a clutch that’s designed to allow for easy shifting while preventing chain slap. To make wheel removal easy, disengage the clutch using Cage Lock.

Related Image

Fine-Tune Your Shifting

After a few rides, you may find that your shifting has gotten a little rougher. This is normal as cables and housing break in a new bike. To perfect your shifting, use the barrel adjuster to add or remove cable tension until your upper pulley is centered under the correct cog. From behind the bike, turning the barrel adjuster counter-clockwise in one click increments will add tension and move the pulley inboard. Turning clockwise will remove tension and move the derailleur outboard.

Related Image

If your cable tension is good but your shifting feels vague or slow, you may want to adjust your chain gap. Use a 3mm wrench to turn the B-Adjust screw until the chain gap is correct.

View MANUAL

Related Image

Add a Power Meter

Using a power meter to understand your efforts is a powerful tool for building fitness. SRAM power meters integrate seamlessly with Apex cranksets, using gauges that precisely measure torque and capture your power (in watts) and cadence (as RPM) from the left crank arm and spindle. See these metrics right on your cycling computer while only adding 40 grams to the crankset.

Easily upgrade your Apex crankset with a crankarm power meter upgrade. It hides the power measurement unit inside the crank spindle to determine left side power and calculate total watts. It’s the perfect way to enter the world of riding with power.

View more

UNDERSTANDING APEX GEARING

Related Image

Want a deeper dive into gearing? Read the Gravel Gearing article.

LEARN MORE

Apex Power Meter

Understand and improve your efforts by upgrading to a power meter. Easily add one to your Apex bike to measure and see real-time ride info and post-ride data.

View more

Maintenance

Stay on top of maintenance with routine cleaning and monitoring for normal wear and tear.

View more